

Users
Users are the accounts that can sign in to Gameye Admin.
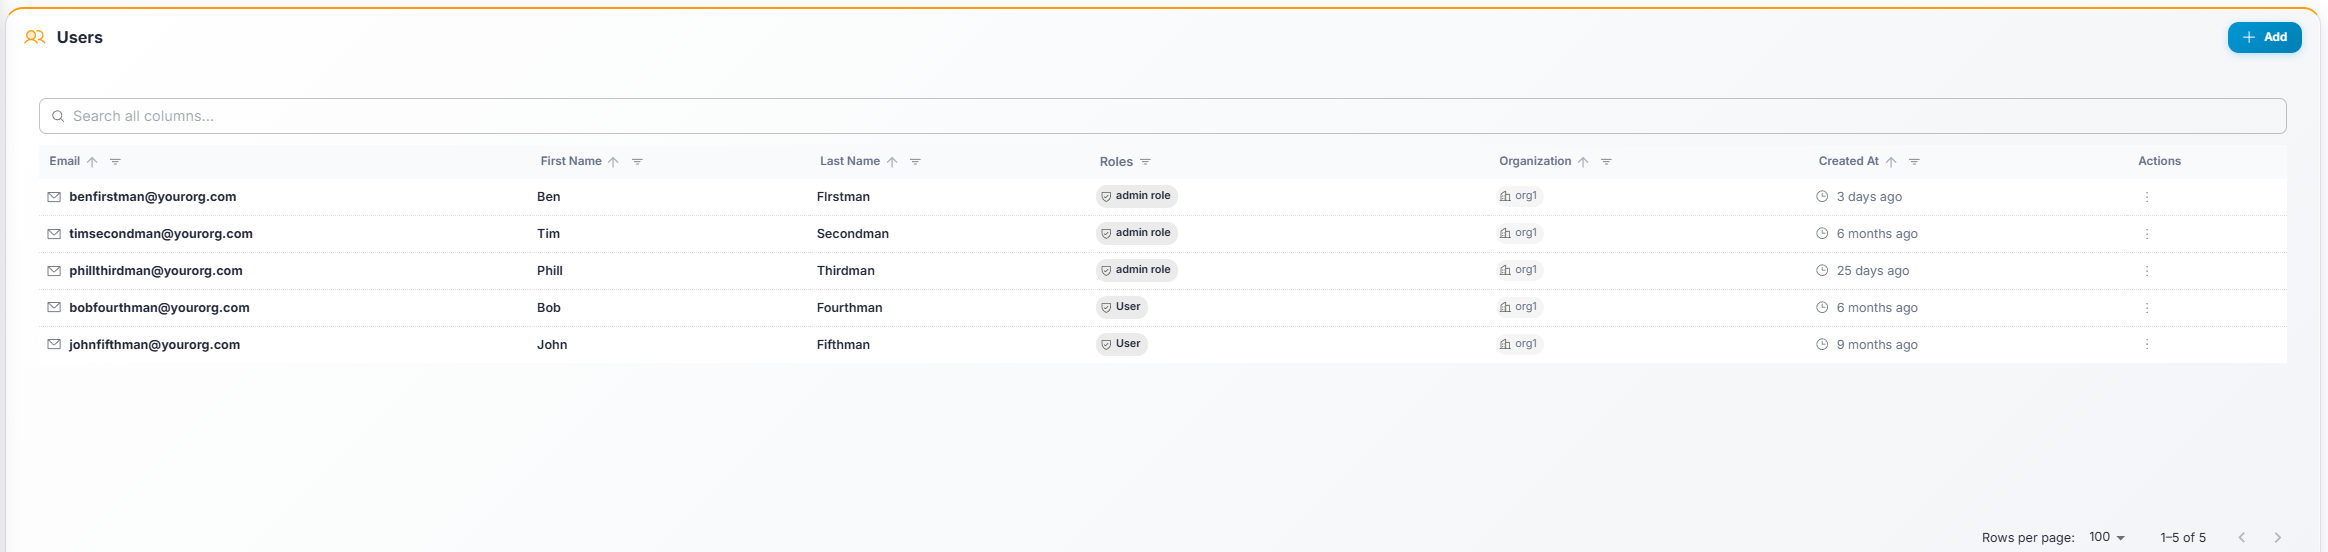
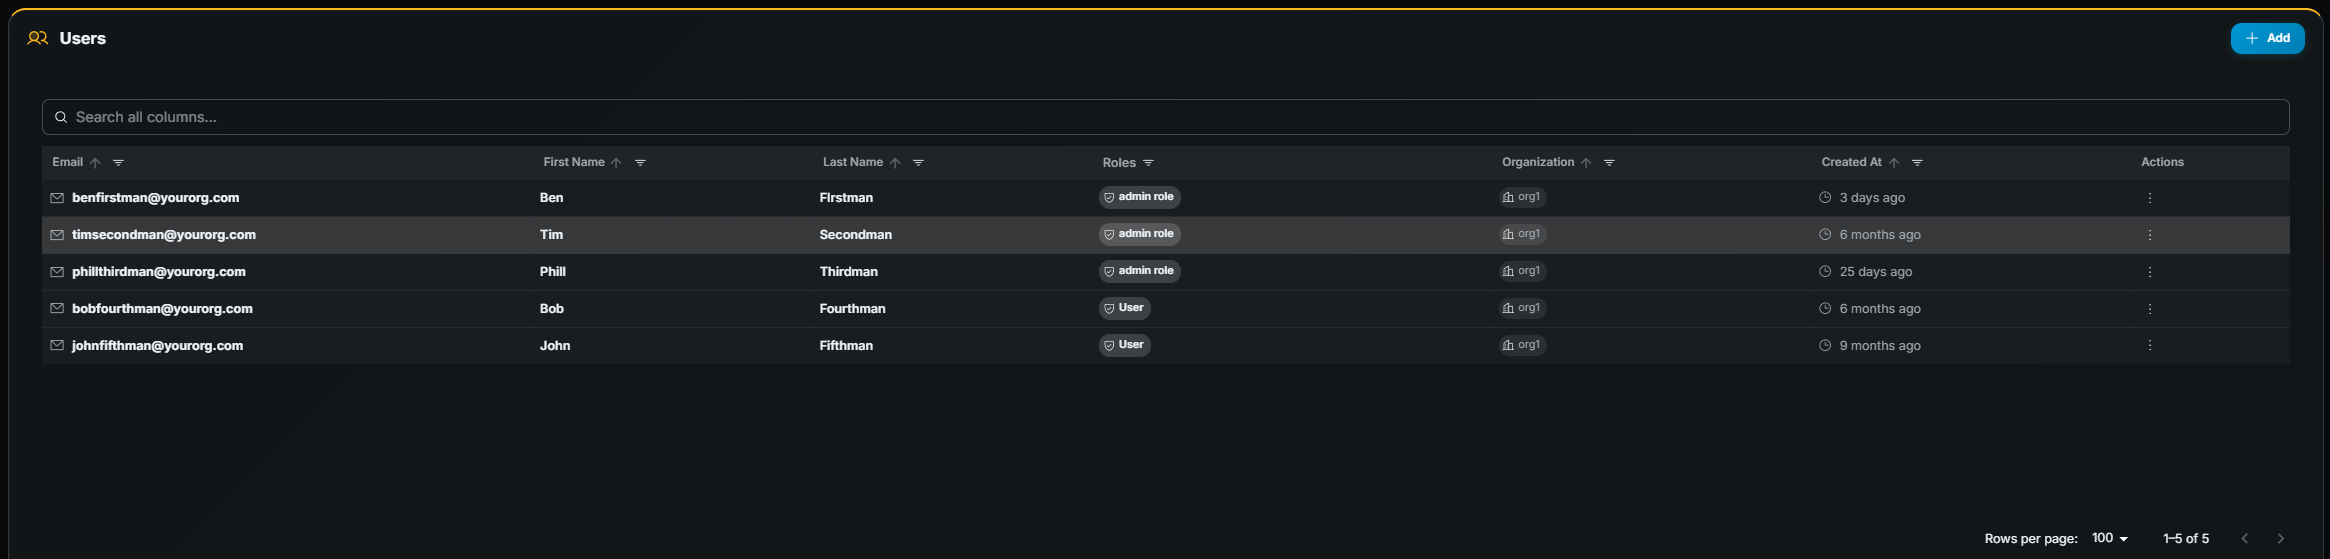
Table columns
Section titled “Table columns”Use the search bar above the table to filter by name or email.
| Column | Description |
|---|---|
| Login email address. | |
| First Name | User’s first name. |
| Last Name | User’s last name. |
| Roles | Assigned roles. |
| Organization | Organization the user belongs to. |
| Created At | Account creation date. |
| Actions | Row menu (⋮) with Edit and Delete. |
Creating a user
Section titled “Creating a user”Requires user create permission.
- Click + Add (top-right).
- Fill in name, email, password, organization, and role.
- Click Save.
Editing a user
Section titled “Editing a user”Requires user edit permission.
- Open the row Actions menu (⋮) and choose Edit.
- On the Update User page, change the desired fields (email, first name, last name, organization).
- Click Update User to save.
Role assignment
Section titled “Role assignment”Each user is assigned one or more roles. Roles are collections of permissions that determine what pages and actions the user can access. Contact your administrator to understand which roles are available and what each role grants.
API tokens
Section titled “API tokens”The Update User page includes an API Tokens section below the user details form. Use it to create and manage tokens for programmatic access to the Gameye API. Each token can be scoped to specific permissions, giving fine-grained control over what the token is allowed to do.
To manage API tokens, open Users, edit the relevant user account, then scroll to API Tokens on the Update User page.
Token table columns
Section titled “Token table columns”| Column | Description |
|---|---|
| Name | A descriptive label you chose when creating the token. |
| Token | The token value (masked by default). Click the eye icon to reveal / hide it. |
| Scopes | Color-coded chips showing the API scopes assigned to this token. Scopes are grouped by category. |
| Status | Active (green) or Disabled (grey). |
| Created | Date the token was created. |
| Actions | Disable and Delete controls. |
Creating a token
Section titled “Creating a token”- On the Update User page, scroll to the API Tokens section.
- Click + Add Token.
- In the dialog:
- Token name — Enter a descriptive name (e.g.
ci-deploy,monitoring-read-only). - Scopes — Check the scopes this token should have access to. Scopes are organized by category; use the category checkbox to select or deselect all scopes in a group at once.
- Token name — Enter a descriptive name (e.g.
- Click Create Token.
- The new token appears in the table. Copy the token value immediately — it is displayed in full only at creation time.
Disabling / enabling a token
Section titled “Disabling / enabling a token”- Use the disable control in the Actions column on an active token to temporarily revoke its access. The token status changes to Disabled and any API calls using it will be rejected.
- Use the enable control on a disabled token to re-activate it.
Disabling is useful when you want to temporarily revoke access without permanently deleting the token and losing its configuration.
Deleting a token
Section titled “Deleting a token”Click the delete icon (trash) on the token row and confirm. This action is permanent — the token cannot be recovered.