Applications
Applications represent the deployable units you run containers for. Each application maps to a Docker image repository and defines the resource requirements for containers.
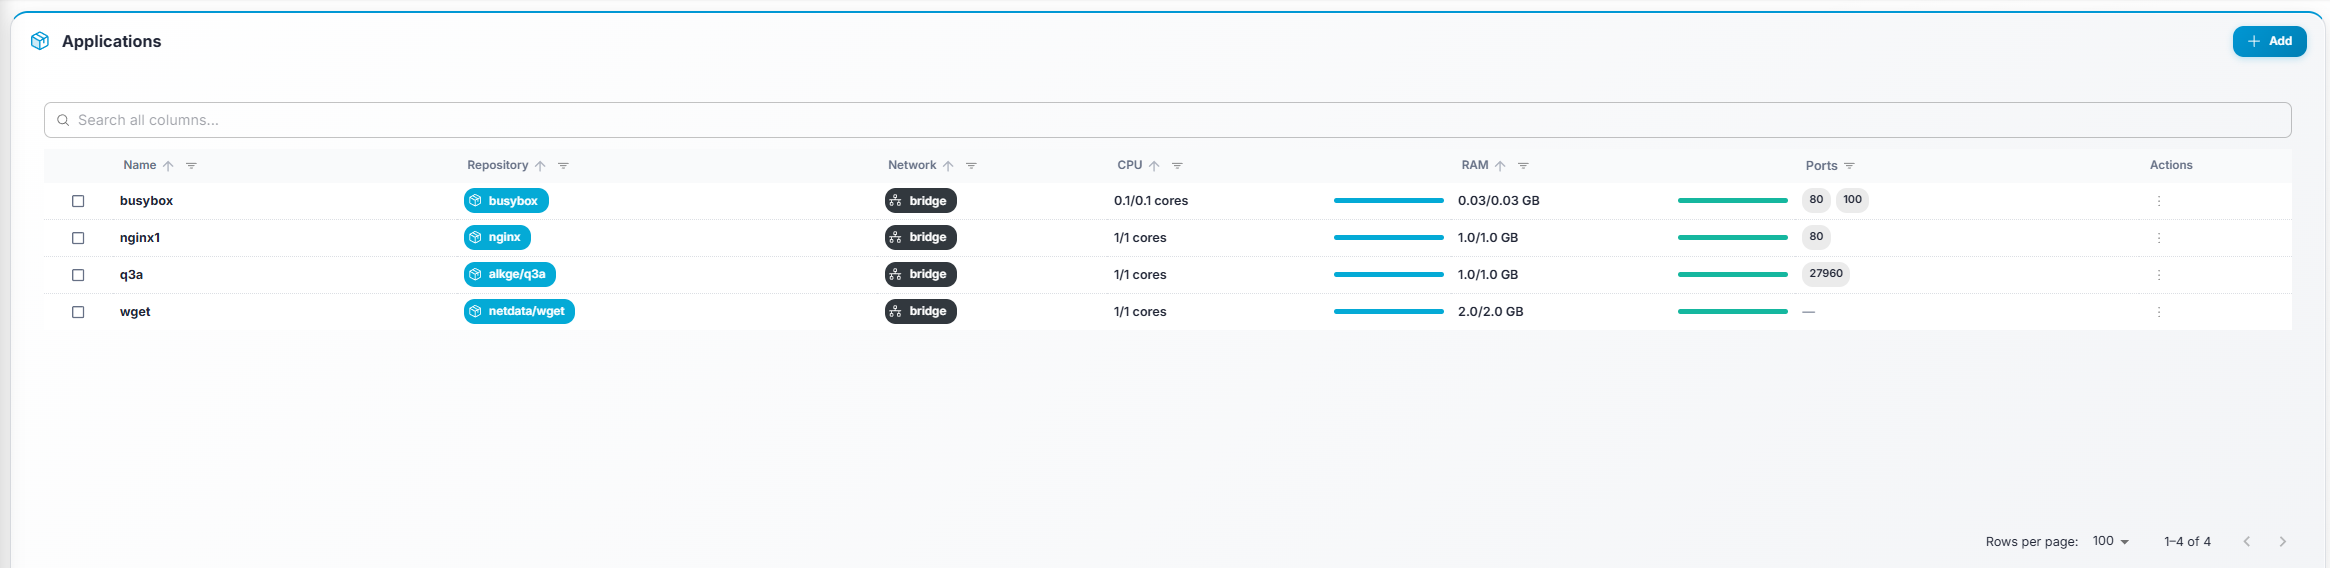
Table columns
Section titled “Table columns”| Column | Description |
|---|---|
| ☐ (checkbox) | Select one or more rows for bulk actions. |
| Name | Application name (bold). |
| Repository | Docker Hub repository URL, shown as a chip. |
| Network | Network mode (e.g. host, bridge). |
| CPU | Reserved / Limit cores, with a progress bar. |
| RAM | Reserved / Limit in GB, with a progress bar. |
| Ports | Up to four port chips; a “+N” chip if more exist. |
Row actions
Section titled “Row actions”| Action | Description |
|---|---|
| Details (eye icon) | Open the Application Details page. Requires read permission. |
| Edit (pencil icon) | Open the edit form. Requires edit permission. |
| Clone (copy icon) | Create a new application pre-filled with this application’s settings. Requires create permission. |
| Delete (trash icon) | Remove the application and its tags. Requires delete permission. A confirmation dialog appears. |
Bulk actions
Section titled “Bulk actions”Select one or more applications using checkboxes. A toolbar appears at the top:
- Mass Edit — Opens a dialog where you can update shared fields (regions, node pool, CPU, RAM, network mode, port bindings, registry, tags-to-keep) for all selected applications at once. A confirmation step shows the changes before applying.
- Update Tags — Fetches the latest available Docker image tag for each selected application and shows a comparison table (current tag → latest tag). Click Update Tags to pull the newest tag for all applications that have an update available.
Creating an application
Section titled “Creating an application”- Click Add (top-right).
- Fill in the form fields:
- Name — Unique name for the application.
- Repository — Docker Hub repository (e.g.
mygame/server). - Tags to keep — How many image tags to retain (recommended: 2).
- Network mode —
hostorbridge. - Node pool — Which pool of nodes this application should run on.
- Regions — One or more regions where containers may be started.
- Port bindings — Add ports with protocol (TCP/UDP) and container port.
- CPU / RAM — Reserved and limit values.
- Click Save.